Tonight, April 16th 2026 at 19:20, i’m giving a talk at the Nuremberg Claude Code Meetup.
The title:
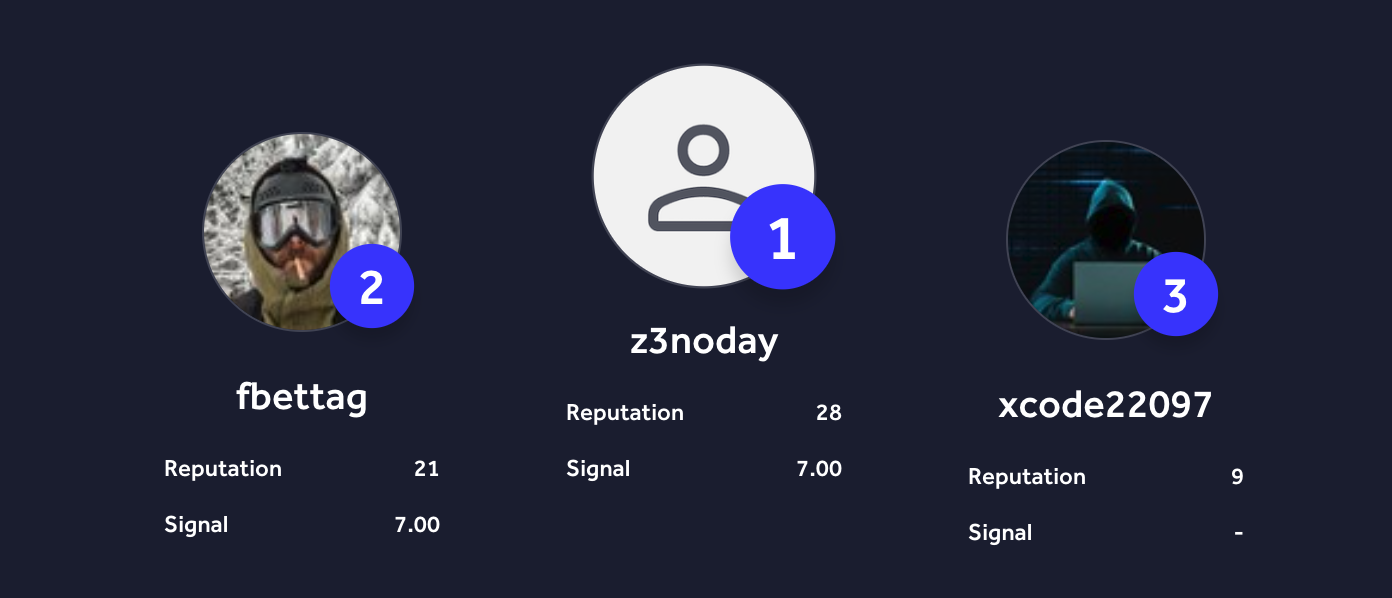
How I Accidentally Became #2 VDP Researcher for Germany on HackerOne
Slides are here: no2vdp.bett.ag
And yes, the #2 part is real.
This is not a prompt engineering talk
The lazy version of this talk would be:
“I used AI to hack stuff.”
That would also be the wrong version.
The interesting part is not that AI can run security tools. Everyone can ask an agent to run nmap, nuclei, sqlmap, or whatever the tool of the week is. That is not the hard part. That is just a faster command line with more confidence than it deserves.
The actual trick is building a system where the agents are not trusted blindly.
The core pattern is:
1 | separate personas + validation gates + feedback loops = consistently better outcomes |
That is what the talk is really about.
Security is just the domain where i currently have the loudest proof.
What i built
The current setup is a validation-first vulnerability research platform.
At the center is one canonical backend: state, orchestration, findings, submissions, operator UI. Around that sits a distributed execution layer with pwn hosts, a shared bounty-cli, and a growing pile of specialized agents and skills.
The rough shape:
- central server as source of truth
- Go backend and persistent state
- NixOS flakes for reproducible infra
bounty-clion worker hosts- 4 pwn hosts for distributed execution
- 56 specialized agents
- 200+ reusable skills
- platform ingestion across HackerOne, Bugcrowd, YesWeHack, Intigriti, HackenProof, Immunefi, Apple Security, and Google VRP
The agents are not “one hacker bot.”
They have roles.
Recon agents do recon. Exploit agents attempt bounded exploit paths. Verification agents independently check findings. Chaining agents try to turn validated low-severity artifacts into higher-value outcomes. Feedback updates the prompts, profiles, routing rules, and future runs.
That separation matters.
If one model does discovery, exploitation, verification, report writing, and final confidence scoring in one long session, you’re not building an automation platform. You’re building a hallucination amplifier.
The results
The ranking followed real findings, not vibes.
Public and semi-public outcomes include:
- Keycloak CVE-2026-1190
- ClickHouse RBAC bypass work that landed as a critical fix
- 3x Amazon VDP subdomain takeovers
- OANDA VDP subdomain takeover
- Opera SIP / VoIP infrastructure takeover
- Ruby on Rails valid finding
The Opera one is a good example of why this kind of automation works.
The rig flagged dangling SRV records:
1 | _sip._tcp.opera.com. 86400 IN SRV 0 0 5060 e1.viju.vc. |
e1.viju.vc pointed to a domain that no longer existed. Any RFC 3263 compliant SIP client resolving Opera’s SIP records would end up talking to whoever controlled that domain.
The automation found the edge case.
I registered the domain manually, pointed it at my infrastructure, confirmed the takeover, and reported it through Bugcrowd.
That distinction is important: machines detect, humans approve irreversible steps.
I do not want an AI agent registering random domains, touching third-party infrastructure, or deciding on its own when something is safe to prove. That is exactly the kind of cowboy bullshit that gets people into trouble.
Why MCP got dropped
The first version had more MCP in it.
MCP is great for prototyping. It is convenient, structured, and makes tool access easy.
But for this workload, the token math gets ugly fast.
Full tool schemas get shoved through the model again and again. Tool count grows, context overhead grows. Five tool calls can become five inference loops. At campaign scale, that is just burning money for the privilege of doing IPC through a language model.
So i moved the execution path to a shared Go CLI.
The model reasons. The CLI executes locally. Skills are injected only when needed. Results go back to the server.
Same coverage. Much less token waste.
In practice, this was the difference between a cool prototype and something i can actually run all day.
The Claude Code part
Since this is a Claude Code meetup, i am also talking about how the platform itself was built.
The short version:
Claude Code was useful because i constrained it.
Not because i typed:
1 | Build me a billion dollar business. |
or the security version:
1 | Find me a $100k bug bounty! |
That is not how any of this works.
The build process followed the same loop as the runtime system:
- one feature per session
- define the validation gate before implementation
- implement the smallest useful slice
- run checks
- fix until green
- only then move to the next layer
CLAUDE.md and memory carry the persistent project context. The prompt carries the task. The tests carry the definition of done.
This is the part most people skip.
They treat every AI session like the model should magically understand their architecture, their history, their taste, their production constraints, and the weird thing they decided three months ago at 2am.
It doesn’t.
Every session is a new hire.
An extremely fast, A-grade new hire with every tool installed, but still a new hire. If you don’t onboard it properly, it will produce generic code that technically works and architecturally sucks.
The portable pattern
The point of the talk is not “go build a bug bounty robot.”
The point is that the same loop works outside security.
Discovery. Execution. Validation. Composition. Feedback.
You can use that for:
- CI/CD pipeline setup
- vendor comparison
- lead qualification
- legal or GDPR audits
- repo modernization
- infra migrations
- large feature development
For example, upgrading GitLab on Kubernetes is the same pattern.
You don’t prompt:
1 | Upgrade GitLab and don't break production. |
You prompt in phases.
Explore read-only. Take backups. Research the version path. Do not skip required intermediary versions. Upgrade one hop. Validate the services. Only proceed when the previous hop is healthy. Feed failures back into the next attempt.
That is how you get from GitLab v15 to v18 without turning your Kubernetes cluster into modern art.
The actual takeaway
Do not start with one giant prompt.
Start with a loop.
Split the work into phases. Give each phase a role. Define what artifact comes out of it. Validate that artifact before anything else consumes it. Chain only validated outputs. Feed failures back into the next run.
That is the boring engineering part.
Which is why it works.
I got to #2 on the German HackerOne VDP leaderboard not because i found a magic prompt, but because i built a system that rejects garbage before it reaches me.
VDPs still don’t pay. I said that before and it’s still true. But they build reputation, they open private doors, and they are a good proving ground because the surfaces are less farmed than paid BBPs.
And honestly, the reputation play is working.
If you’re at the meetup tonight, come say hi.
If you are not, the deck is public:
I am currently open for contractual engagements.
If you want this kind of validation-first automation pointed at your own infrastructure before someone else points something dumber and more hostile at it, get in touch.
Your choice.